
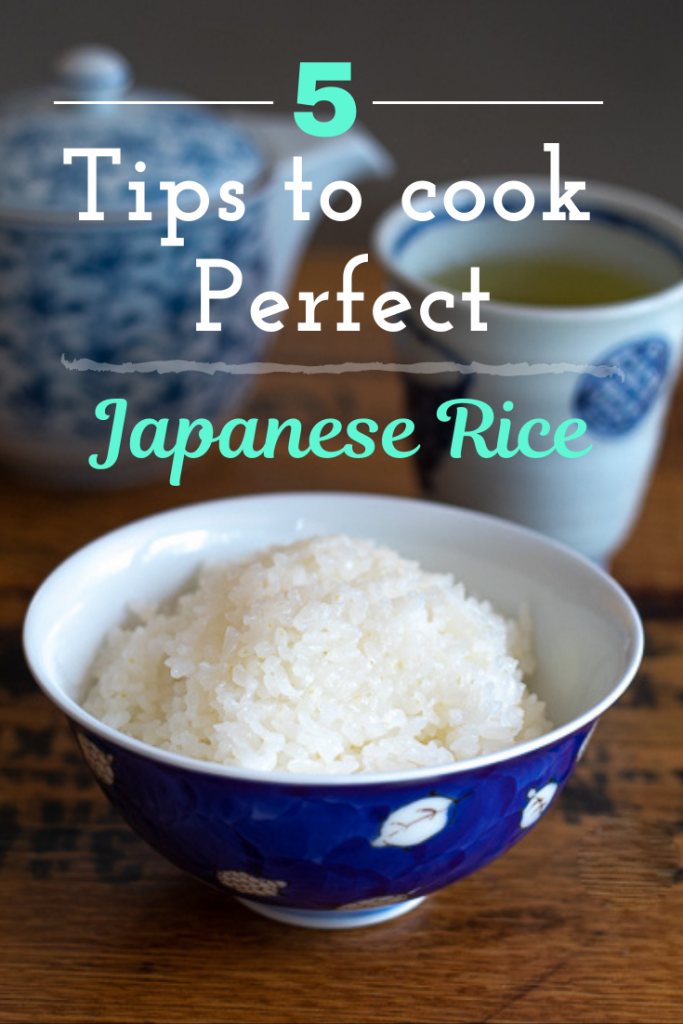
5 tips to cook perfect Japanese rice
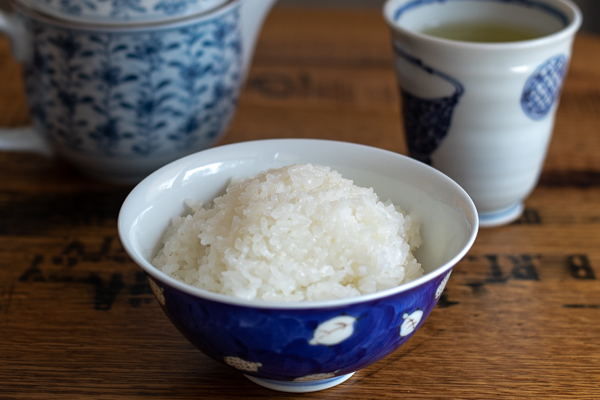
Japanese rice, often referred to as sticky rice, is the heart of Japanese cooking. I may be a bit biased, but compared to any other rice, Japanese rice is so much more flavorful, more filling and satisfying, and so versatile. You can serve it plain; you can make sushi; because it’s sticky, you can shape it into literally whatever you want; and you can even make confections with them. There are a lot of tips and hacks out there on how to make THE perfect rice. But making the perfect Japanese rice is quite simple if you follow these 5 basic tips:
1. Use Japanese rice
This may see a little obvious. But even if you follow all other steps here, if you don’t use the Japanese short- or medium-grain rice, don’t expect to have that perfect Japanese rice as result. It does not need to be imported rice from Japan, although that certainly could be a nice indulgence if you can find some. But Japanese rice produced in California is known to be just as good.
Also, the rice packaged that is labeled “New Crop” is usually the best. The fresher the rice, the better it is. Note that these labels can be placed on the package but the product itself could sit on the shelf at some stores, so that label doesn’t always guarantee that the rice is fresh.
2. Invest in a Japanese rice cooker
If you love Japanese rice and plan on cooking it often, buying a Japanese rice cooker is worth the effort. I say “invest” because they are a little pricey compared to other basic rice cookers.
But with Japanese rice cookers, there is no guess work on how much water to add or how long to cook. You use the measuring cup that comes with the rice cooker to measure out how much rice you want to cook. Then add the water to the level that corresponds with the number of cups of rice you are cooking.
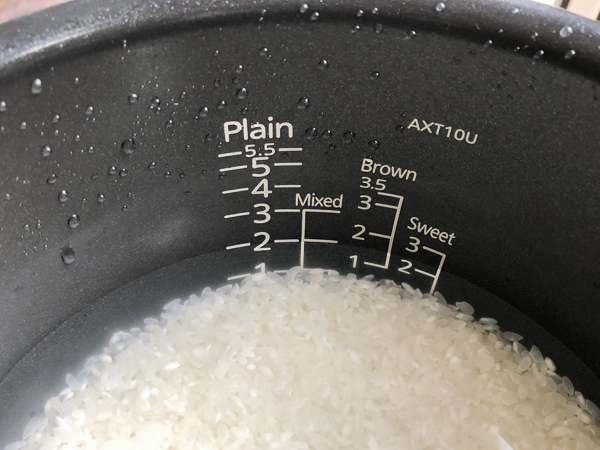
Here are some options from Amazon: Toshiba, Zojirushi and Tiger are the more well-known brands for Japanese rice cookers.
3. Wash the rice
You must always wash the Japanese rice. But there is no need to keep washing the rice until the water runs clear. As matter of fact, washing the rice too much could make it lose some flavor.
To wash the rice: Put the rice in the inner liner of the rice cooker. Fill it with water to cover the rice. Then “massage” or “whisk” the rice a few times using your hand then pour the water out. Repeat this 3 – 4 times until the water just begins to run clear.
4. Pre-soak the rice
I must admit that this is the step I skip when I absolutely do not have time. And it turns out fine. But it is best to let the rice pre-soak in the water for about 15 minutes before you start cooking. So, after you wash the rice, add the amount of water as set by the rice cooker, then let it sit for 15 minutes.
I’ve also heard that using mineral or spring water to cook the rice can bring out the best flavor. Fortunately, I’ve lived in cities where the tap water is of good quality, so I have not tested the difference. But if there is any doubt, you may want to try using some mineral water (or maybe even filtered water) to pre-soak and cook the rice.
5. Fluff the rice
When the rice is done, you can let it sit on the “Keep Warm” mode until you are ready to serve. With the rice cooker, you don’t need to worry about the rice getting burnt on the bottom or drying out the rice if you cooked it long before you are ready to serve it. But fluff the rice before letting it sit too long, making sure to mix up the rice from the bottom of the rice cooker.
Always use the plastic “paddle” spoons (it’s called Shamoji in Japanese) that come with the rice cooker or a wooden spoon to fluff the rice while it’s in the rice cooker. Using a fork or other metal utensil could damage the surface of the inner pot of the rice cooker.

Pin it for later!
Related Posts

Basic Japanese Ingredients for Everyday Cooking
When you think of “Japanese food,” you may have a vision of a beautifully plated…
May 29, 2019
How to host your own sushi party
Hosting your very own sushi party can actually be one of the easiest thing to…
March 5, 2019
Leave A Comment